Introduction to Miro
Estimated duration: 5 minutes
Learning objectives:
After completing this reading, you will be able to:
Describe the core features of Miro, including the infinite canvas, real-time collaboration, templates library, and integrations with popular productivity tools
Explain the use cases of Miro and the benefits it offers for team collaboration and productivity
Demonstrate the step-by-step process of signing up for Miro.
Introduction
Miro is a cloud-based collaborative online whiteboard platform designed to help distributed teams work effectively together. It allows users to visualize ideas, brainstorm, plan projects, map workflows, and collaborate in real time using a shared digital canvas.
Key features of Miro
Infinite canvas: Zoomable, scrollable whiteboard with limitless space for ideas.
Templates library: Pre-built templates for agile workflows, brainstorming, retrospectives, wireframes, and more.
Real-time collaboration: Multiple users can draw, comment, and edit simultaneously with live cursors.
Sticky notes and mind maps: Easy to create and arrange ideas using sticky notes, shapes, and connectors.
Integrations: Connects with tools such as Jira, Asana, Trello, Microsoft Teams, Slack, Figma, Zoom, and Google Workspace.
Presentation mode: Share ideas in an organized, slide-like format directly from the board.
Video chat and commenting: Collaborate with team members via built-in chat and leave feedback directly on the board.
Use cases of Miro
Remote workshops: Facilitate design sprints, planning meetings, and innovation workshops.
Agile and Scrum ceremonies: Host sprint planning, stand-ups, and retrospectives with customizable templates.
Product roadmapping: Plan, visualize, and share roadmaps with product teams and stakeholders.
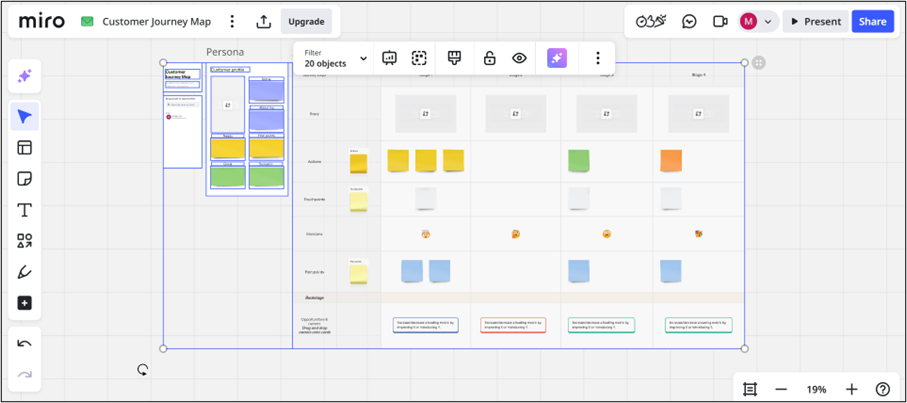
UX/UI design: Create user journey maps, wireframes, and flowcharts with real-time design input.
Strategic planning: Collaborate on OKRs, SWOT analysis, and business model canvases.
Brainstorming and ideation: Use mind maps and sticky notes to generate and cluster ideas.
Education and training: Instructors and students can collaborate for interactive learning sessions.
Benefits of using Miro
Increases alignment and transparency across teams
Saves time with pre-made frameworks
Enhances creativity with visual collaboration
Boosts productivity in remote or hybrid environments
Encourages inclusive participation through anonymous voting and feedback tools
How to sign up on Miro (First-time users)
Here's a step-by-step guide specifically for signing up and logging in to Miro—useful for onboarding teammates, students, or workshop participants.
Follow these steps to create a new Miro account and set up your first workspace:
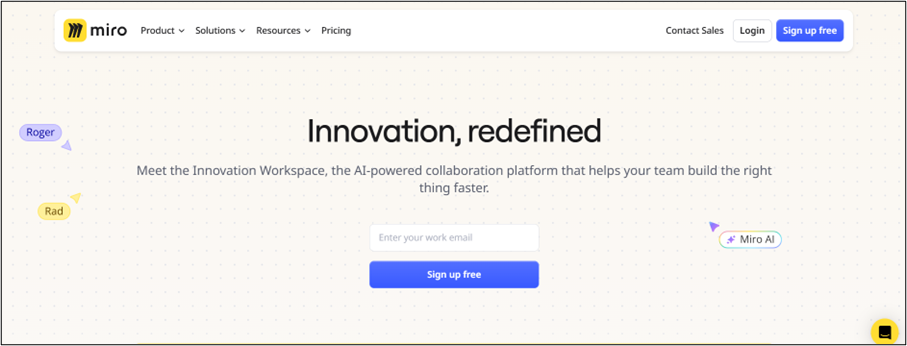
1. Visit the Miro website
- Open your browser and go to https://miro.com.
2. Click on "Sign up free"
You'll find this button on the top-right corner or in the center of the homepage. Click on it to begin.
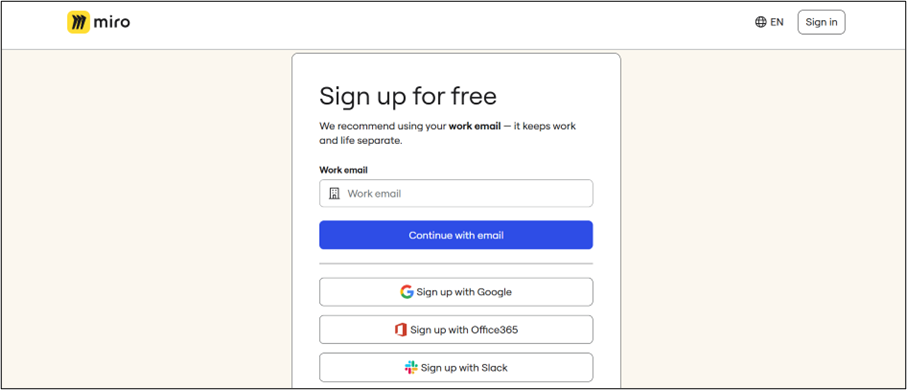
3. Choose a sign-up method
You can sign up using one of the following options:
Google account
Microsoft account
Slack
Email and password (Manual entry)
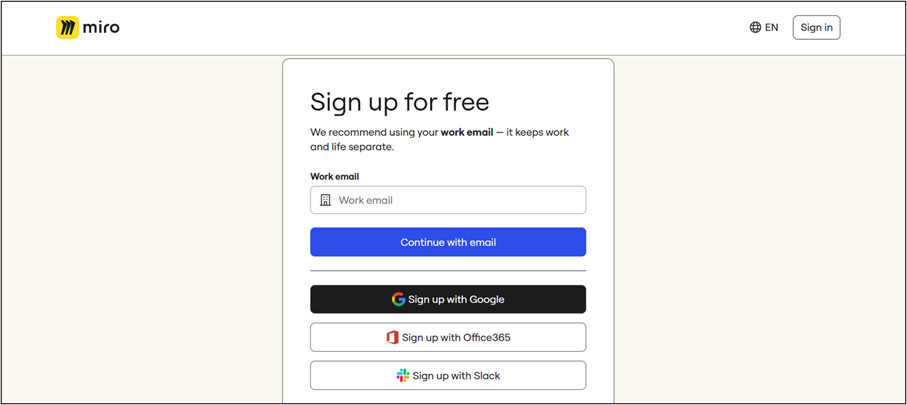
It is recommended that you choose "Sign up with Google." When you hover over this option, it will be highlighted in black color (as shown in screenshot).
4. Fill out the onboarding form
Miro will guide you through several short questions to set up your account.
The first question that appears on the screen is given below:
What is your team name?
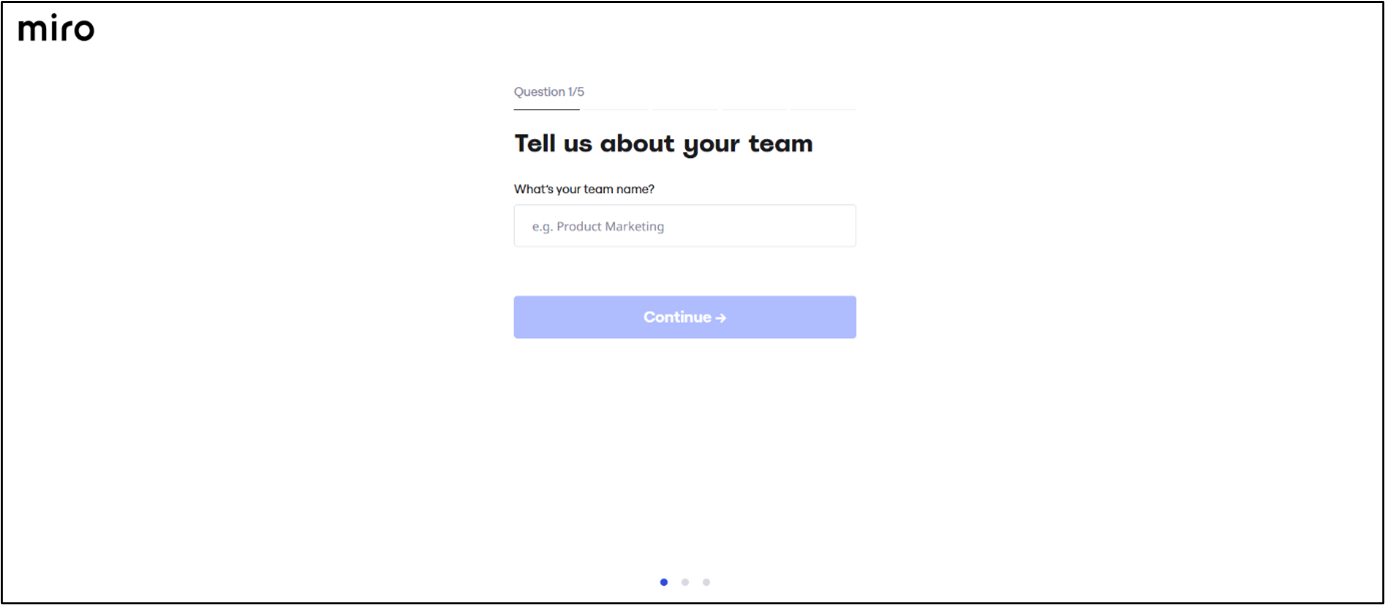
As soon as you fill in the first detail, additional questions will appear one by one, as shown in the screenshot.
What kind of work do you do?
What's your role?
Have you used Miro before?
- Select "No, it's my first time."
What is your company size?
- Choose "Only me" from the dropdown.

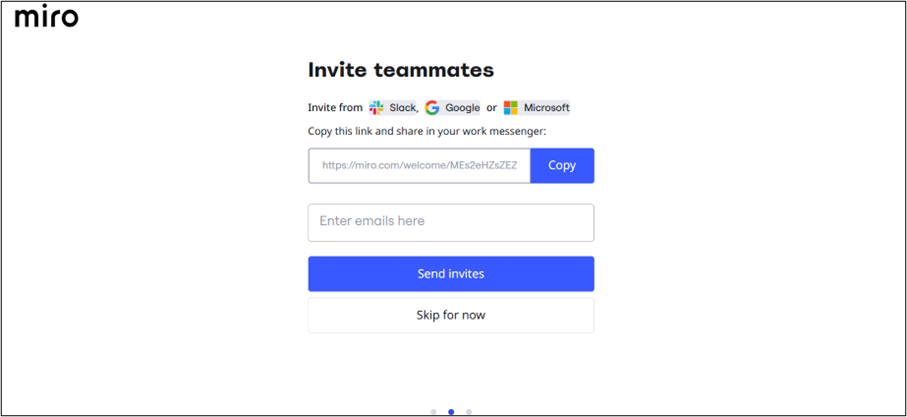
5. Invite teammates (Optional)
Miro will prompt you to invite team members.
To skip this step:
Click "Skip for now"
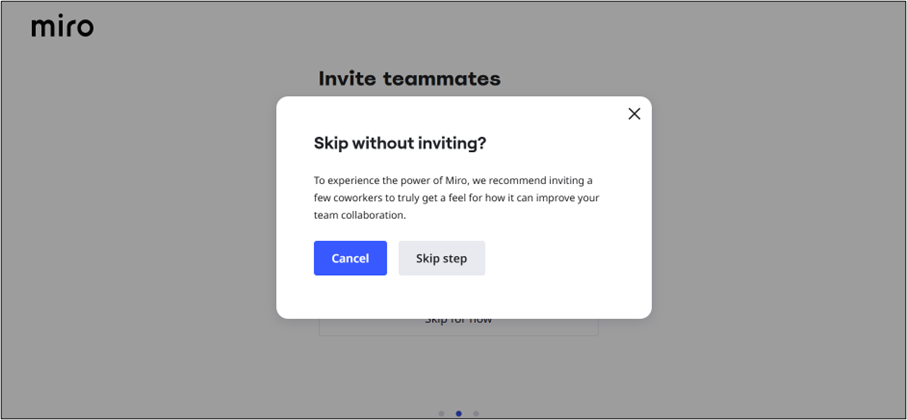
A pop-up will appear. Confirm your choice by clicking "Skip step" (as shown in the screenshot).
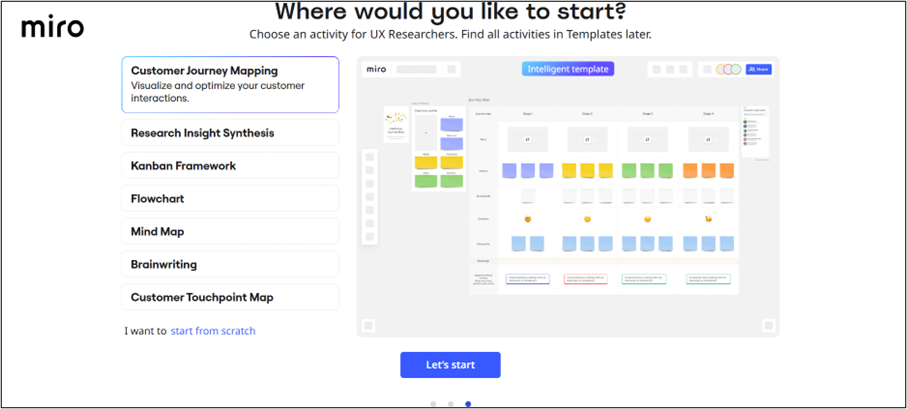
6. Set up your first workspace
You will now see a welcome message "Where would you like to start?" prompting you to start using Miro.
Click the "Let's Start" button to begin exploring your new workspace
7. Start using Miro!
You'll be directed to your first whiteboard, where you can begin creating.