
Instructional Lab Template for Creating Guidelines
Estimated time needed: [] minutes
Welcome to your instructional lab!
Learning objectives
After completing this lab, you will be able to:
- Explain about what they will be learning from this lab.
How to properly use code blocks
- When building an instructional lab, you will find that you need to use code markdown to display some output or a piece of code to your learners.
function add(a, b) {
    return a+b
}
Note: All code blocks display a copy to clipboard button for your readers which allows them to copy the content of the code block with a single click. No more highlighting the text, clicking on
Ctrl+C(Command+Con Apple Mac) and possibly missing a few characters.
- Use
git statusto list all new or modified files that haven’t yet been committed.
Different Features Used for Lab Instructions
You can find various buttons in the toolbar that can make your instructions better. Here are some of them:
1. Add a question dropdown
Creates a question in the instructions that includes hidden answers the learner can reveal with a click.
- To check the hidden code
Click here to view the code
router.get("/:email",(req,res)=>{
    // Extract the email parameter from the request URL
    const email = req.params.email;
    // Filter the users array to find users whose email matches the extracted email parameter
    let filtered_users = users.filter((user) => user.email === email);
    // Send the filtered_users array as the response to the client
    res.send(filtered_users);
});
2. Creates an inline link in the instructions that can link to other websites with a click.
Here is link to Github
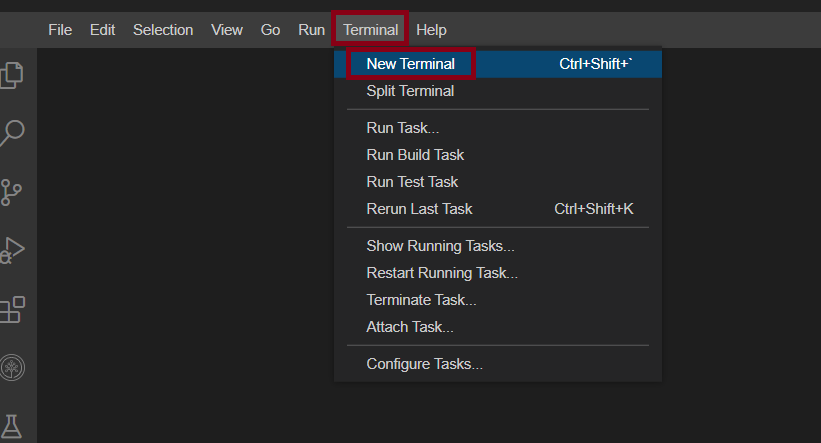
3. Adding Images in the lab instruction
Insert an image into your instructions
Different exercise and Task creation
Exercise 1 : < Title of Exercise 1 >
In this exercise, you will < short sentence describing what’s done in this exercise >.
Step 1 details …
Step 2 details with sample screenshot…
Step 3 details…
Exercise 2 : < Title of Exercise 2 >
In this exercise, you will …
Task A : < Title of Task A in Ex 2 >
Step 1 in Task A in Ex 2
Step 2 in Task A in Ex 2
Task B : < Title of Task B in Ex2 >
Step 1 details
Step 2 details
Exercise 3: Creating a table
| Name | Age | Profession |
|---|---|---|
| John Doe | 30 | Software Engineer |
| Jane Doe | 28 | Data Scientist |
| Sam Smith | 35 | Product Manager |
(Optional) Summary / Conclusion / Next Steps
Add ending info here, if required, and rename the title accordingly. Otherwise, remove this optional section.
Using Apostrophe
Sample’s - No requirement of adding any /’s or 's
Author(s)
Other Contributor(s)
< Contributor 1 Name >, < Contributor 2 Name >, etc.
Changelog
| Date | Version | Changed by | Change Description |
|---|---|---|---|
| yyyy-mm-dd | 0.1 | changer name | Initial version created |